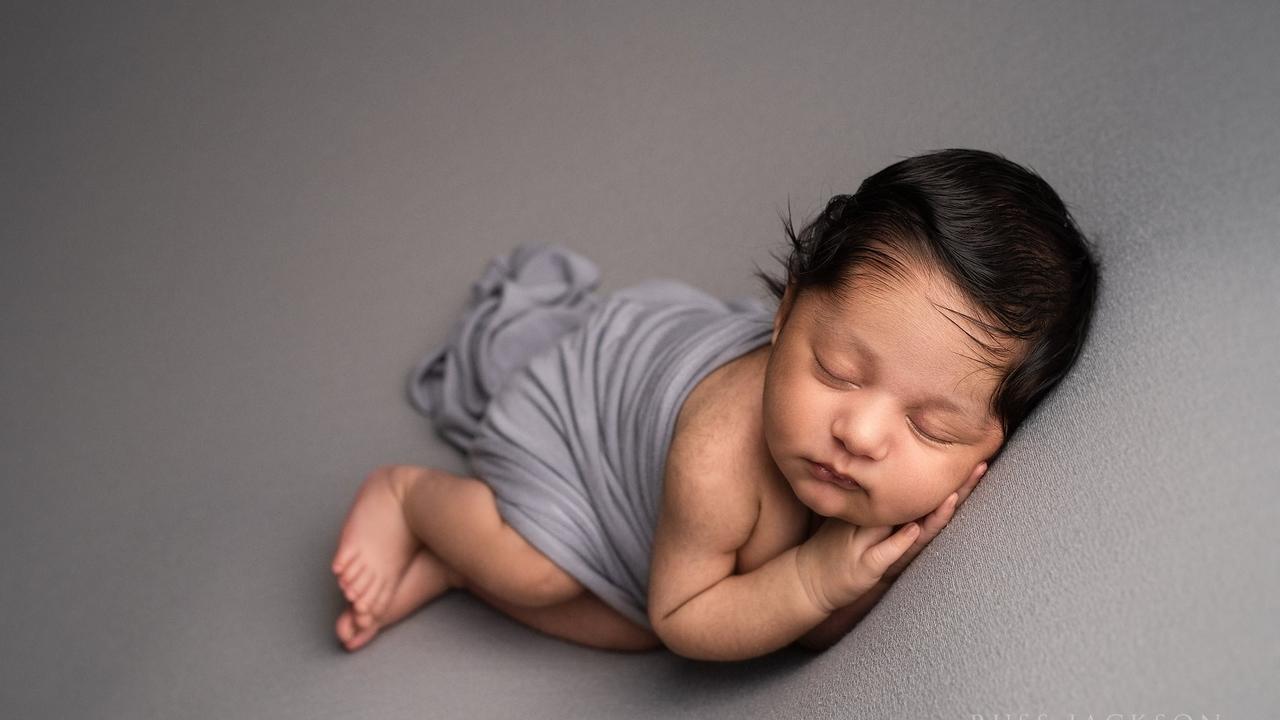
A beginner’s guide to newborn lighting

Looking back on my journey as a newborn photographer I have come to realise that there are four elements that when all done well, combine to create a beautiful newborn image in camera. If one is missing your image is always going to suffer.
These four elements are:
- Posing
- Camera angle
- Composition
- Lighting
Now that is a lot to think about in a newborn session, especially when you are starting out! It took me close to four years to bring all of these elements together in my work consistently, but I think If we really focus during the process of creating our images, we can achieve that much sooner.
You can pose the baby correctly, find the best camera angle and compose the image just right, but if your lighting is wrong, the image is always going to fall flat. So, let’s talk about light and how we can get that right from day one.
Here are four simple things to remember when lighting a newborn baby.
1: HAVE THE RIGHT GEAR
You can’t get the light right if you don’t have the right light!
If, like me, you choose to use studio flash make sure that you have a flash unit that is not too powerful for newborn photography. As newborn photographers, we like to photograph at wide-open apertures to get a nice shallow depth of field.
Anything from f1.4 - f2.8 is considered to be the ideal apertures for our genre. These wide-open apertures mean that we do not need a lot of light to obtain a perfect exposure.
If your flash unit is too powerful (at its lowest power setting), you will find it challenging to photograph at these apertures without overexposing, so be careful when choosing your equipment.
Now you need to modify the light by using a large umbrella or a softbox/octabox.
Follow this simple rule:
The larger the light source, the softer the light.
As newborn photographers, we want soft light, so you need to have a nice big modifier placed close to the baby to create that beautiful soft and natural looking light.

2. KEEP IT SIMPLE
Keep it simple by using just one light. Using two lights will run the risk of filling in the shadows. If you fill in the shadows too much, you will have flat lighting which means that we have little or no shape to the face.
We want to capture shape by controlling the relationship between the highlights and the shadows. If you do not like too much contrast in the image, use a white reflector (or place your beanbag near a white wall) to bounce light back into the shadowed side of the face, but be careful not to add too much ‘bounce’, you will lose that lovely shape.
3. LIGHT FALLS FROM ABOVE
Outside, the sun is in the sky, and indoor light comes from the ceiling. This concept is quite simple but when a baby is lying down on a beanbag, we can get a little confused.
I am always looking to get the light to fall from the top of the baby’s head diagonally down towards the chin. This will create a loop lighting pattern and is very pleasing.
You never want to light the babies face with the light illuminating from below. We call this ‘ghoul’ lighting, and it is not very aesthetically pleasing at all.

4. FEATHER THE LIGHT
I never place my octabox or umbrella pointing directly at the baby. Instead, I ‘feather’ the light, so the baby is Illuminated by the light that is spilling from the edge of the modifier. This light is softer and more pleasing.
As with moving your camera angle, the slightest movement of your modifier can also make all of the difference!

I hope these four steps will help you to improve your lighting. Once you have that mastered, you can concentrate on the other three elements to capture that perfect image!
I go into much more detail and show you exactly where to place your softbox in my ‘studio lighting for newborn photography course’.
All the best and remember always to get the light right!
-Russ
- Join The Russ Jackson Academy Facebook group and network with new and experienced family portrait and newborn photographers


